Rusty Heaps:  

CLASS OF 1973
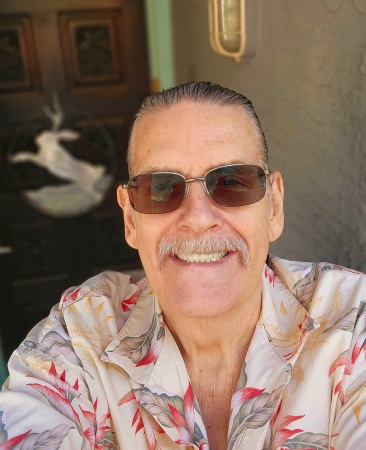
Rusty Heaps's Classmates® Profile Photo
Villa park, CA

Rusty's Story

Life Hi all. I've been living in Arizona since 1987. I've been happily married since 1982, have two kids, one in high school, the other in grade school. I work as a news re...Expand for more
porter for radio, for a company called MetroNetworks. My memory of most of my classmates is shot to hell, but contact me if you remember me, maybe it'll bring it back. See Ya.
Register for Free to view all details!
Register for Free to view all yearbooks!
Reunions
Rusty was invited to the
442 invitees
Rusty was invited to the
458 invitees
Register for Free to view all events!

Photos

Rusty Heaps' Classmates profile album
Looks good outside and in
For now, I've got custom seat covers, red, black with silver piping to continue with the outside theme.
Eventually, I'll pull the back seat out, install matching front buckets with a custom made center console that will hose 2 12" subs and 2 amps to power the sound system.
Aired down, I've only got about a quarter inch between the top of the tire and the wheel well.  It's dirvable, but the airbags are mostly for show!
got the new wheels painted and installed.  Things are coming together
Who would have thought a Honda Ridgeline could look so good!
Airbags down....not a full on frame drop, but it gets the job done.  Drivable in this position, but ONLY in a straight line and no more than 30 MPH
Taken last year outside of cabazon with my old wheels on it.
Here's a close up of the finished job.
With the wheels on, the new rotor and painted calipers are quite visible.
I used the same C-clamp and stock pad to repart the process of pushing the piston back inside the caliper.    This needs to be done because the stock brakes had worn down about halfway and the new brakes are thicker, so the
Rotor on, caliper and bracket painted and new pads in place.
Here isthe new rotor next to the old rotor.
before installing the new rear rotor, make sure to pull the rubber inspection cover from the old rotor and install it on the new rotor.
The rear pads were worn down quite a bit more than the front pads, almost halfway.  The EBC Greenstuff pads should give quite improved stopping times as well as cutting down on the current brake dust problems.
I removed the stock rotors, exposing the parking brake.  There was nothing that needed to be done here, so I left it alone.
I gently twisted the rubber boot away from the hex head, exposing the caliper bolt slide casing.  This needs to be re-greased before you re-install it.
After removing the caliper, I removed the caliper bracket.  As with the front brakes, because I was painting the caliper and bracket, I removed the caliper slide nut casing by pulling on the Hex head, extending the rubber b
I pinched the rubber boot and pulled it from the caliper bracket.  Now I was able to tape off the caliper bolt slide casing hole and paint the bracket.
To remove the rear brake caliper, you need to use both a 17 mm wrench and a12mm wrench.  Once the caliper bolt is loosened, the bolt comes out easily.
Register for Free to view all photos!

Rusty Heaps is on Classmates.

Register for free to join them.
Oops! Please select your school.
Oops! Please select your graduation year.
First name, please!
Last name, please!
Create your password

Please enter 6-20 characters

Your password should be between 6 and 20 characters long. Only English letters, numbers, and these characters !@#$%^&* may be used in your password. Please remove any symbols or special characters.
Passwords do not match!

*Required

By clicking Submit, you agree to the Classmates TERMS OF SERVICE and PRIVACY POLICY.

Oops an error occurred.